Vapor Barriers: Protecting Your Home from Moisture Damage
Vapor Barriers: Protecting Your Home from Moisture Damage
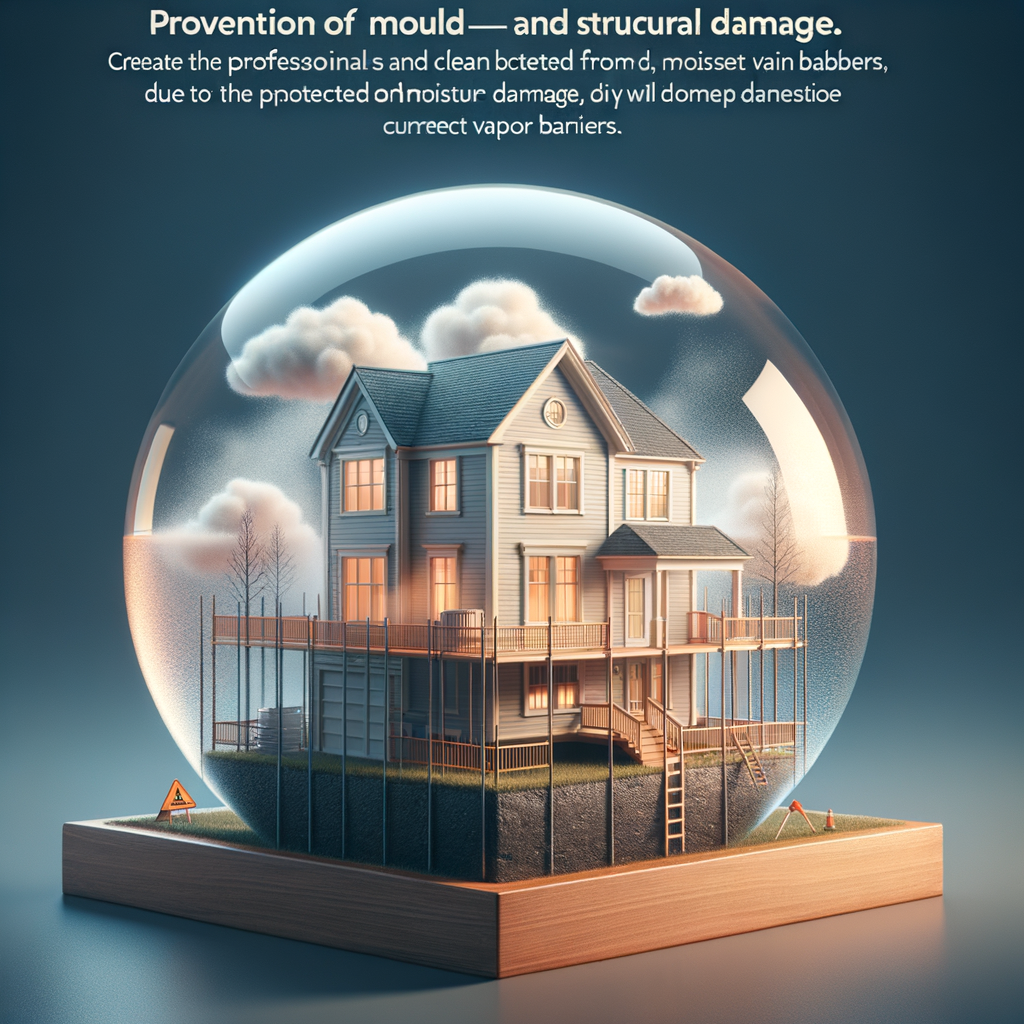
Moisture management is a critical aspect of maintaining a durable and healthy home. Excess moisture can lead to mould, wood rot, and structural damage—costly repairs that can be avoided with proper installation of vapour barriers. As DIYers, builders, or tradespeople, understanding the importance of vapor barriers and how to select the right product can make all the difference.
In this article, we’ll explore what vapor barriers are, why they’re essential, how to choose the right one for your project, and practical tips for installation. Whether you're planning a refurbishment, new build, or simply want to improve your home’s moisture control, this guide will provide the expertise you need.
What Is a Vapor Barrier?
A vapor barrier, also known as a vapour retarder, is a material designed to prevent moisture from passing through walls, floors, or ceilings. These barriers are typically made from plastics or foil-backed materials and are installed on the warm side of insulation to stop indoor moisture from condensing within wall cavities.
Proper installation ensures that humid indoor air doesn’t penetrate into colder spaces where it can condense and cause damage. In essence, vapor barriers act as a shield, maintaining the integrity of your building envelope.
Why Is a Vapor Barrier Important?
Protects Against Moisture and Condensation
In homes, especially in areas like bathrooms, kitchens, or basements, moisture levels can spike. Without a vapor barrier, this moisture can seep into insulation, framing, and other structural elements, leading to mold growth and decay.
Enhances Energy Efficiency
By controlling moisture, vapor barriers help to maintain consistent indoor temperatures, reducing heating and cooling costs.
Prevents Structural Damage
Moisture infiltrating wall structures can weaken materials over time. Properly installed vapor barriers extend the lifespan of your home’s components.
Choosing the Right Vapor Barrier
Selecting the correct vapour retarder depends on your specific project, climate zone, and the construction type. Here are key considerations:
Perm Rating
Vapour barriers are rated based on their perm value—the measure of how much moisture can pass through. Typically:
- High perm (greater than 1 perm): Suitable for areas with high humidity or external environments that require more breathability.
- Low perm (less than 0.1 perm): Ideal for interior walls, especially in cold climates where moisture needs to be tightly controlled.
For most UK residential projects, a low perm vapor barrier like reflective is recommended.
Material Types
- Polyethylene: The most common, affordable, and easy to install.
- Foil-backed: Offers additional reflective benefits for insulation and moisture control.
- Liquid Applied Membranes: Suitable for complex or irregular surfaces, though less common in DIY projects.
Thickness
Vapor barriers come in various thicknesses, typically ranging from 0.2mm to 0.5mm. Thicker options tend to be more durable but are also slightly less flexible.
How to Install a Vapor Barrier
Proper installation is crucial for effectiveness. Here are practical steps:
- Prepare the Surface: Ensure the area is clean, dry, and free from sharp objects that could puncture the material.
- Measure and Cut: Cut the vapor barrier to fit the space, allowing for overlaps of about 10cm at joints.
- Seal Joints and Seams: Use compatible tape or adhesives to secure overlaps and penetrations.
- Attach the Barrier: Use staples, nails, or adhesive as appropriate to fix the barrier to framing or wall studs. Avoid wrinkles or sagging.
- Check for Gaps: Make sure all edges are sealed tightly to prevent moisture paths.
When installing in walls or ceilings, ensure the barrier faces the living space—the warm side—to prevent moisture from reaching cold surfaces.
Common Mistakes to Avoid
- Puncturing the vapour barrier during installation.
- Omitting overlaps or not sealing seams properly.
- Incorrect placement—placing the barrier on the cold side can trap moisture inside the wall.
- Not inspecting the installation thoroughly before closing up walls.
Summary
A correctly chosen and installed vapour barrier is a vital component of your home’s moisture management system. From preventing mould growth to increasing energy efficiency, it’s a straightforward upgrade that delivers long-term benefits. For DIY enthusiasts and professionals alike, understanding the specifics of vapor barriers ensures your project remains durable and sustainable.
Interested in starting your moisture protection project?
Explore our range of thermawrap to find the right solution for your home. Whether insulating walls or sealing floors, Cynnal has the products and expertise to support your DIY journey.
Protect your home today and enjoy peace of mind knowing you’ve taken a significant step toward a healthier, more efficient living space.