Tips for Achieving Professional Results with Brushes and Rollers
Tips for Achieving Professional Results with Brushes and Rollers
Painting your home or completing a DIY project can be highly rewarding, but achieving a finish that looks professional requires the right tools and techniques. Whether you're a seasoned tradesperson or a keen DIY enthusiast, mastering the use of brushes and rollers is essential for a smooth, clean, and durable coat of paint.
In this guide, we'll cover practical tips and expert advice to help you get the best results—delivering a flawless finish that stands up to the test of time.
Understanding Your Tools: Brushes and Rollers
Before diving into techniques, it’s crucial to select the right tools for your project. Using the right brushes and rollers not only improves the quality of your work but also makes the job easier and more enjoyable.
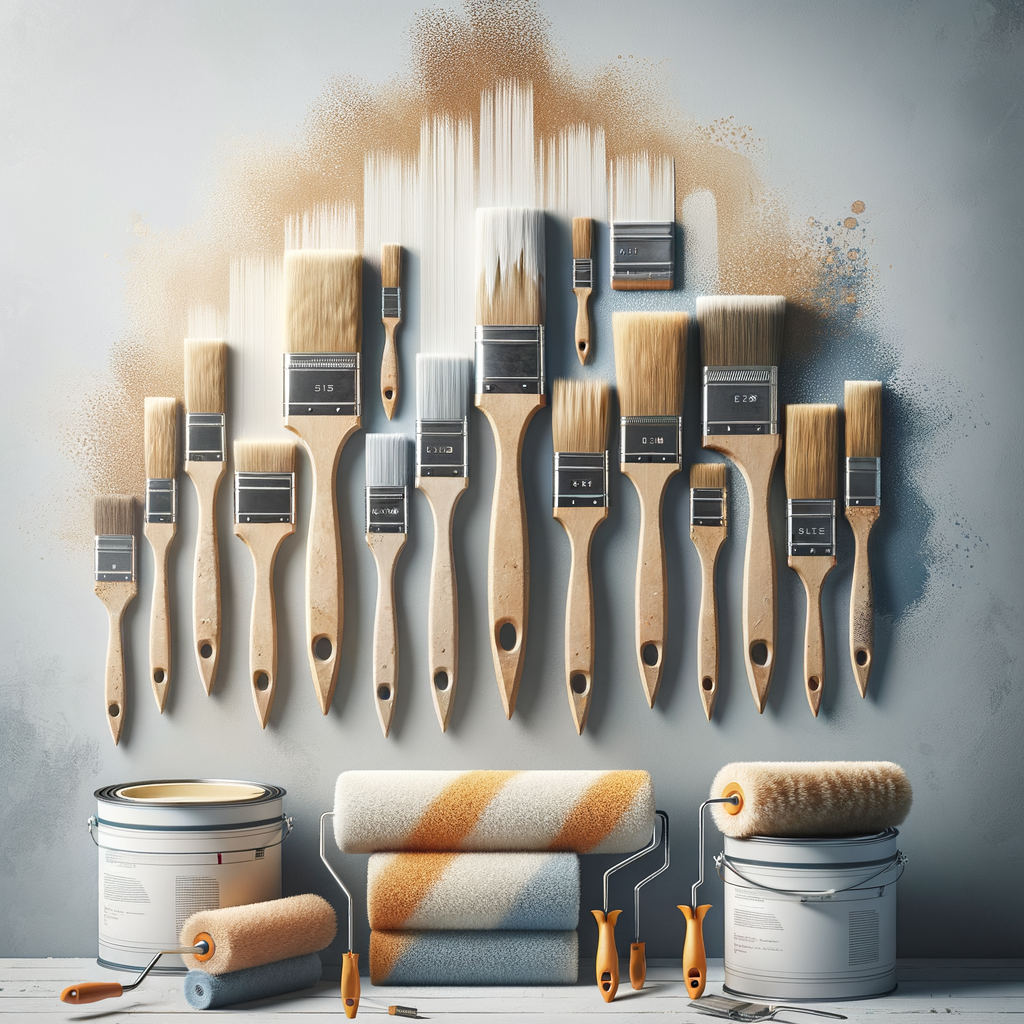
Types of Paint Brushes
- Flat brushes: Ideal for covering large flat surfaces and cutting in edges.
- Angular brushes: Perfect for corners and detailed work.
- Spot brushes: Great for touch-ups and small areas.
Types of Paint Rollers
- Nap length: Short pile (up to 6mm) for smooth surfaces, longer pile (up to 12mm) for textured surfaces.
- Material: Foam rollers for smooth finishes, woven or synthetic for more durable coats.
Explore a range of princeton and harris to suit your needs.
Preparing Your Surface
For a professional finish, surface preparation is key.
- Clean thoroughly to remove dirt, grease, and old peeling paint.
- Sand rough patches and glossy surfaces for better adhesion.
- Prime as necessary—especially on bare wood or before applying dark colours over light backgrounds.
Proper preparation ensures your paint adheres well, resulting in a longer-lasting, smooth finish.
Applying Paint with Brushes
Brushwork demands patience and a steady hand.
- Load your brush properly: Dip about a third of the bristle length into the paint, then tap off excess—don't wipe it off.
- Use long, even strokes: This minimises brush marks and drips.
- Work from top to bottom: For ceilings and walls, start at the ceiling line and work your way down.
- Mind the edges: Use a quality angled brush for sharp cuts and edges.
Troubleshooting Common Brush Issues
- Brush marks: Keep a wet edge and avoid overworking.
- Paint sagging or drips: Don’t overload the brush; applying thin coats is better.
Achieving a Perfect Finish with Rollers
Rollers are faster for covering large areas, but technique determines the quality.
- Load your roller evenly: Roll it into the tray and rotate to distribute paint evenly. Remove excess paint to avoid drips.
- Use ‘W’ or ‘M’ patterns: Roll in these shapes and then fill in without lifting the roller for even coverage.
- Maintain a wet edge: Overlap your rolls to avoid marks and colour inconsistencies.
- Apply multiple thin coats: Allow each coat to dry before applying the next for a durable finish.
Tips for Smooth Application
- Use a reflective for high walls or ceilings.
- Keep the roller charged evenly; avoid pressing too hard.
- Refill the roller frequently to prevent streaks.
Finishing Touches for a Flawless Look
- Inspect your work: Look for patches or streaks and smooth them out immediately.
- Use fine brushes for touch-ups and detail work.
- Allow sufficient drying time: Follow the manufacturer’s instructions for re-coating.
- Clean your tools promptly—clean brushes with water or appropriate solvents for longevity.
Final Word
Achieving a professional paint finish with brushes and rollers involves proper tool selection, surface preparation, and meticulous application. By following these practical tips, you’ll be able to deliver impressive results every time, whether for a DIY project or on-site work.
Ready to get started? Explore our comprehensive range of 800w princeton and harris to find the perfect tools for your next project.
Happy painting, and for more expert advice and quality tools, stay tuned with Cynnal—your trusted partner in DIY and professional maintenance.