How to Install Tongue and Groove Wall Paneling for a Professional Finish
How to Install Tongue and Groove Wall Paneling for a Professional Finish
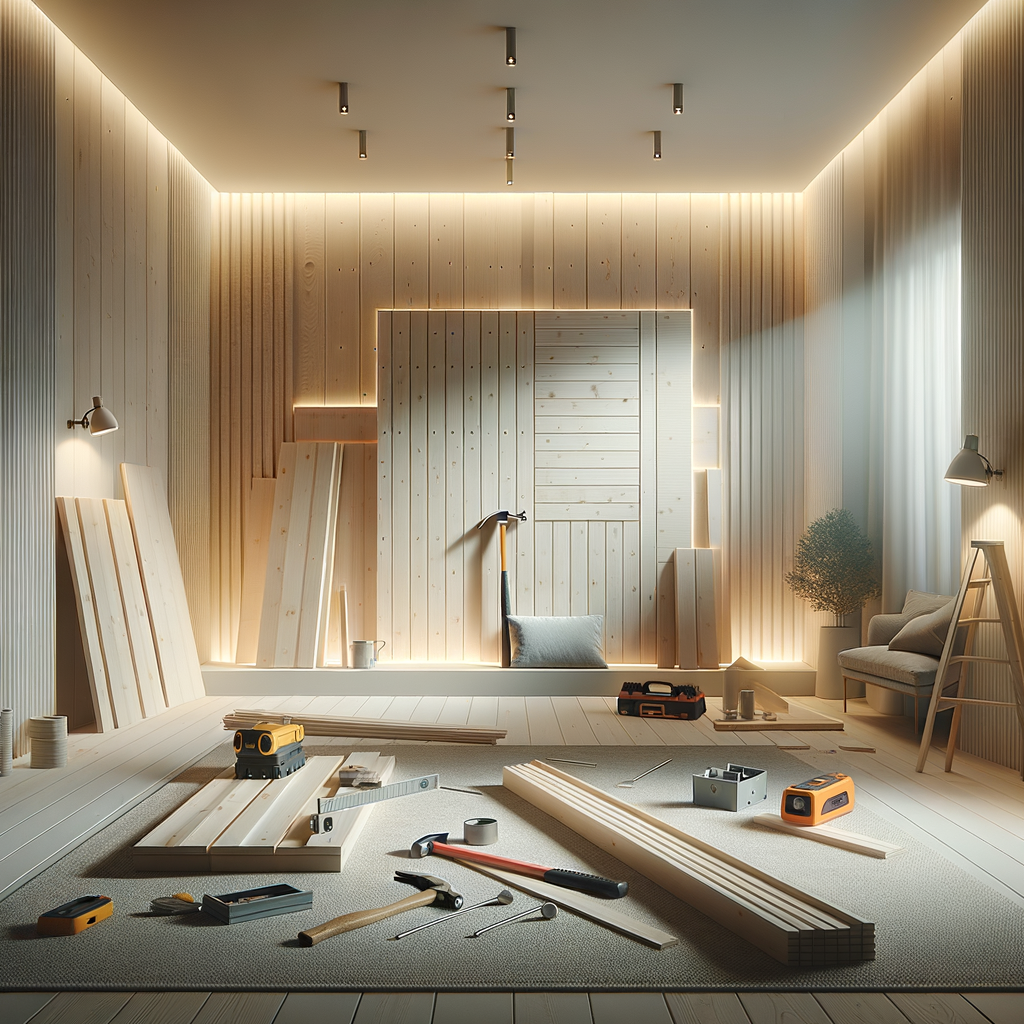
Installing tongue and groove wall panelling is a rewarding DIY project that instantly elevates the look of any room. Whether you're renovating a cosy cottage or giving your workshop a fresh upgrade, proper installation ensures a seamless and durable finish. In this guide, we'll walk you through the essential steps, highlight key tools and products, and share pro tips to help you achieve a professional result.
Why Choose Tongue and Groove Wall Paneling?
Tongue and groove (T&G) paneling offers several benefits, making it a popular choice among DIYers, builders, and tradespeople:
- Ease of installation: Interlocking edges simplify laying the panels.
- Aesthetic appeal: Creates a clean, uniform look with subtle joints.
- Versatility: Suitable for different room styles — rustic, modern, traditional.
- Durability: When properly installed, it withstands impact and environmental changes.
For specific projects, select suitable materials such as wood, MDF, or PVC, depending on your needs.
Preparing for Installation
Measure and Plan
Start by measuring your wall space accurately. Determine the number of panels needed, considering the width and length of each panel as well as any pattern or design you prefer.
Acclimate the Panels
Allow the panels to acclimate in the room for at least 48 hours. This helps prevent warping or expansion after installation.
Gather Your Tools and Products
- Cordless drill or screwdriver
- Finishing nails or screws
- Tape measure and level
- Saw (circular or miter saw)
- Hammer or nail gun
- Spacer wedges
- Wall plugs and screws (if fixing directly onto plasterboard)
- Adhesive (optional for added stability)
Choose Your Products
Visit our wall paneling category for a selection of high-quality tongue and groove panels.
Installation Steps
1. Preparing the Wall
Ensure the wall surface is clean, dry, and flat. Fix any uneven areas or protrusions. For best results, use a level to mark the starting line.
2. Installing the First Panel
Start at one corner of the wall. Place spacers to maintain a gap (around 3mm) between the panel and the wall for expansion.
- Lay the first panel with the tongue side facing out.
- Fix the panel using nails or screws along the face and edges, ensuring they are spaced evenly.
3. Connecting Subsequent Panels
- Fit the tongue of the next panel into the groove of the previous one.
- Tap gently with a rubber mallet if needed for a snug fit.
- Fix the panel with nails or screws, avoiding overtightening.
4. Cutting Panels to Fit
Use a saw to cut panels to size, ensuring the tongue remains intact for the final row.
5. Finishing Touches
- Remove spacers after installation.
- Fill nail or screw holes with wood filler or putty.
- Sand any rough edges.
- Paint or seal the panels as desired.
Tips for a Perfect Finish
- Double-check measurements before cutting.
- Use a level frequently to keep panels aligned.
- Ensure a consistent gap for expansion, especially in room with high humidity.
- When fixing to plasterboard, consider using toggle bolts or wall plugs for added stability.
Common Challenges and Solutions
| Issue | Solution |
|---|---|
| Panels not fitting snugly | Use a rubber mallet to gently tap into place, check for warping |
| Gaps between panels | Adjust alignment and ensure panels are properly seated |
| Warping panels | Acclimate panels in the room before installation |
For complex layouts or large areas, consider using a cordless drill like the Makita LXT 18V Combi Drill for efficient fixing.
Final Words
Installing tongue and groove wall panelling may require patience and precision, but the results are worth the effort. With proper preparation, use of quality tools, and careful execution, you’ll enjoy a stunning, long-lasting feature wall that adds character to your space.
Ready to start? Explore our wall panelling products and get your project underway today. For expert advice and top-tier tools, Cynnal is here to support your every step towards a professional finish.
Call to Action
Discover our full range of wall panelling and finishing products to bring your project to life with confidence. Whether you’re renovating your home or fitting out a commercial space, we’ve got the tools and materials you need to succeed.