Installing New Switches in Your Bathroom: A Step-by-Step Guide
Installing New Switches in Your Bathroom: A Step-by-Step Guide
Upgrading or adding new electrical switches in your bathroom can improve safety, convenience, and modernise your space. Whether you’re replacing old switches or installing new ones in a renovation project, doing it right is essential to avoid electrical hazards and ensure compliance with UK wiring regulations.
In this guide, we’ll walk you through the process with practical advice, focus on safety, and recommend the right tools and products, so you can confidently handle this task whether you’re a DIY enthusiast or a professional tradesperson.
Why Install or Replace Bathroom Switches?
Bathrooms are high-moisture environments, which demand careful attention to electrical safety. Modern switches offer better functionality, such as waterproof covers and child safety features, making your bathroom safer and more user-friendly.
Some common reasons for upgrading or installing new switches include:
- Replacing outdated, worn-out switches
- Adding switches for new lighting zones
- Improving safety with waterproof or moisture-resistant switches
- Upgrading to modern dimmers or smart switches
Key Considerations Before You Start
Before diving in, ensure you understand the following:
- Electrical safety regulations (Part P of the Building Regulations)
- Your skill level: if unsure, consult a qualified electrician
- The type of switches needed (standard, moisture-resistant, dimmer, smart switches)
- The existing wiring setup in your bathroom
Always switch off the power at the consumer unit and verify there’s no current before handling electrical components.
Essential Tools and Products
Having the right tools makes installation smooth and safe. Here’s what you’ll need:
- Insulated screwdriver set
- Voltage tester (preferably a non-contact type)
- Wire strippers
- Pliers
- Battery-powered drill (for mounting the switch)
- Moisture-resistant switches (see bathroom switch options for suitable products)
- Terminal connectors
- Electrical tape
When selecting your switch, aim for models rated for bathroom use, featuring IP44 or higher if exposed to moisture.
Step-by-Step Installation Process
1. Turn Off Power and Prepare Your Workspace
Start by switching off the circuit breaker that supplies power to the bathroom. Use your voltage tester to double-check that the circuit is dead. Clear the area and set up adequate lighting.
2. Remove the Existing Switch
Remove the faceplate with a screwdriver. Unscrew the switch itself and carefully disconnect the wires. Take note of the wiring configuration or take a photo to help during reinstallation.
3. Check and Prepare the Wires
Examine the wires for damage or corrosion. Use wire strippers to tidy up the ends if needed. Ensure that you have sufficient length of wire to connect your new switch.
4. Connect the New Switch
Connect the wires to your new switch according to the manufacturer’s instructions. Typically:
- Live (brown) wire connects to the L terminal
- Switched live wire connects to the output terminal
- Neutral wires (blue) are usually connect separately to the light fitting
Use terminal connectors and secure all connections firmly. For added safety, wrap connections with electrical tape.
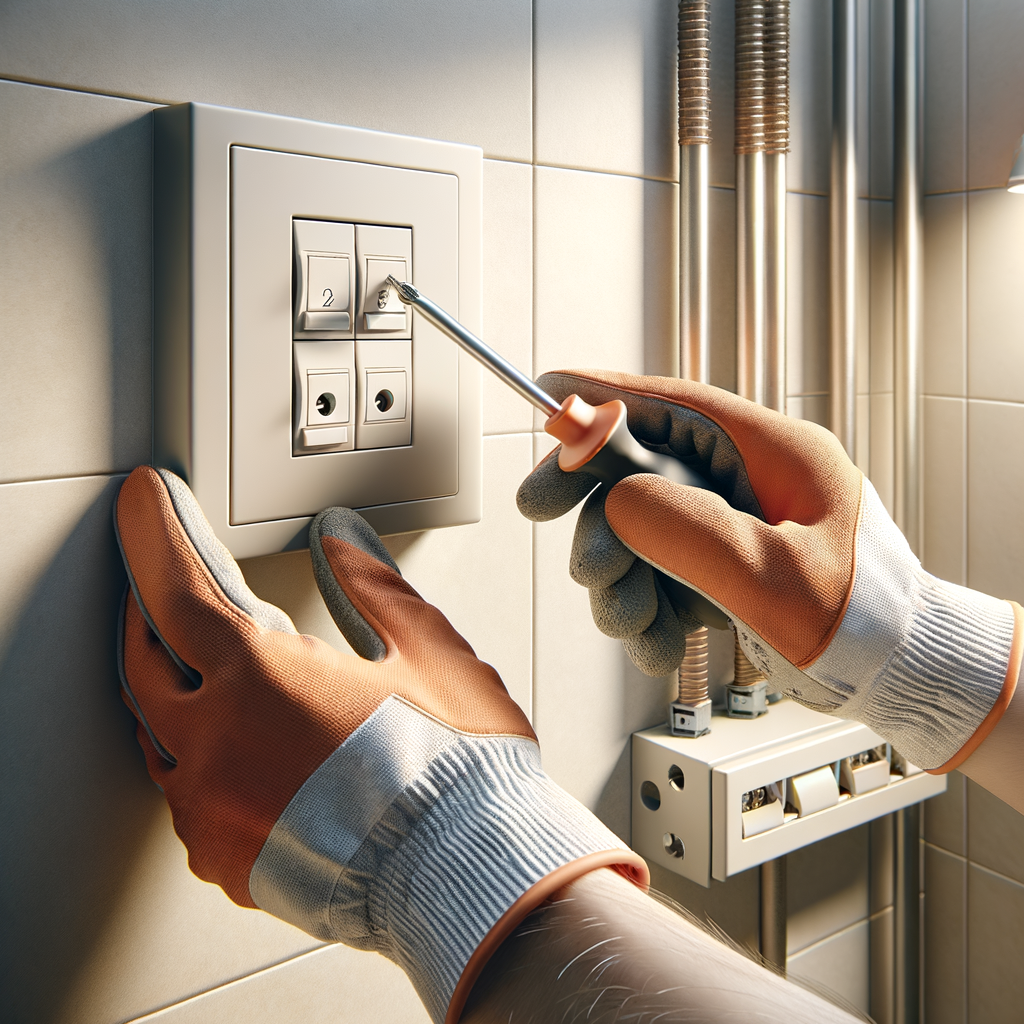
5. Mount the Switch
Secure the switch into the wallbox, ensuring it’s flush and stable. Attach the faceplate, making sure it’s properly aligned.
6. Restore Power and Test
Switch the circuit back on at the consumer unit. Test your new switch to ensure it's functioning correctly, including any dimming or smart features if applicable.
Troubleshooting Common Issues
- Switch doesn’t turn on the lights: Check wiring connections and confirm power is on.
- Flickering lights: Signal poor connections or incompatible dimmer switches.
- Moisture issues: Use switches rated for bathroom environments; install waterproof covers if needed.
Final Tips for a Safe and Successful Install
- Always follow manufacturer instructions.
- If unsure about wiring or regulations, hire a qualified electrician.
- Use moisture-rated switches and waterproof covers to ensure safety.
- Regularly inspect switches and wiring for signs of wear or damage.
Keep Your Bathroom Safe and Modern
Installing a new switch in your bathroom is a straightforward way to enhance your space’s safety and functionality. With the right tools, parts, and precautions, you can confidently handle this upgrade yourself.
For a range of suitable switches, visit our electrical switches category and find the perfect model for your bathroom upgrade.
Happy DIY-ing! And always remember—safety first.
Explore the Best Bathroom Switches at Cynnal
Ready to upgrade your bathroom? Browse our selection of moisture-resistant switches and accessories. For professional advice, consult our sata and ensure a safe, reliable installation every time.