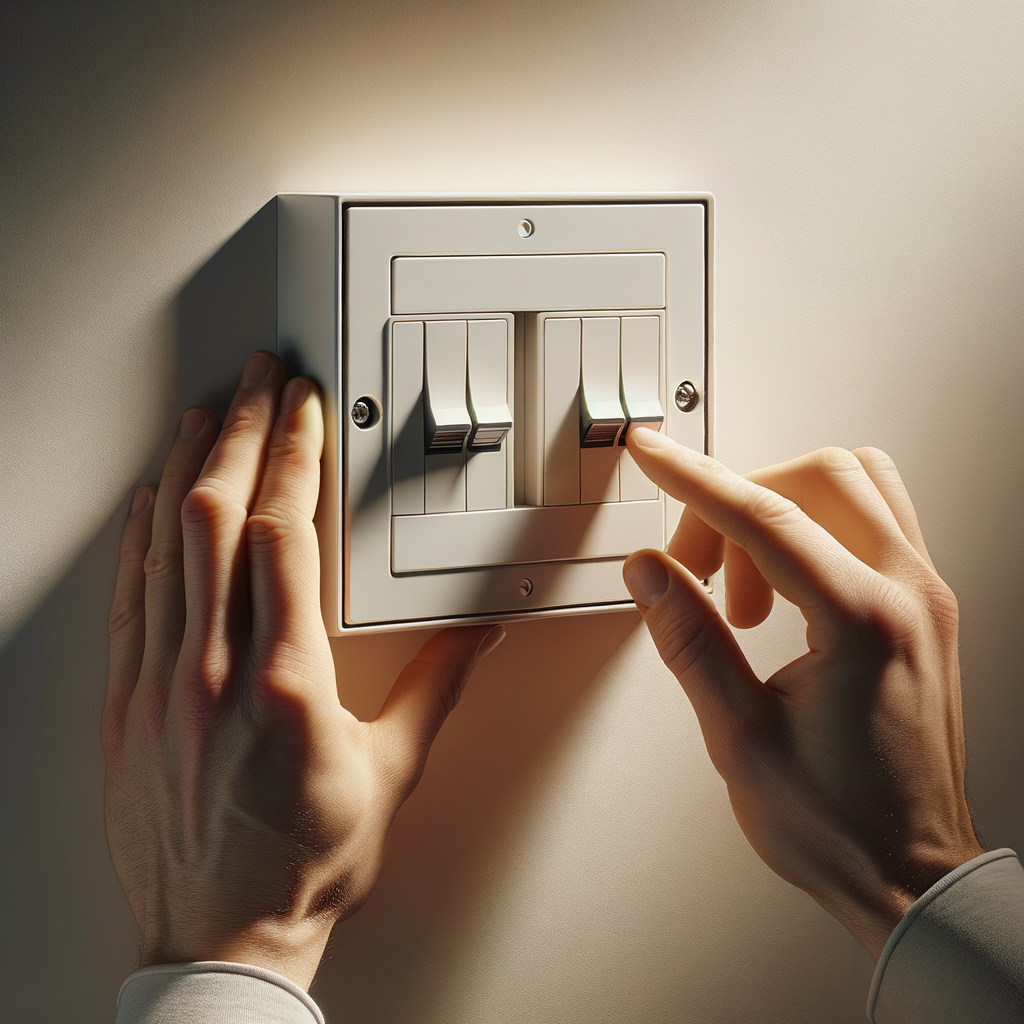
Step-by-Step Guide to Installing a 2-Gang Switch

Step-by-Step Guide to Installing a 2-Gang Switch
Installing a 2-gang switch is a practical skill that can save you time and money when updating your home wiring. Whether you’re upgrading from a single switch or replacing an old, faulty unit, this guide will walk you through each step with confidence, ensuring a safe and professional result.
Introduction
A 2-gang switch allows control of two separate light circuits or devices from a single wall-mounted unit. This is particularly useful in areas like living rooms, kitchens, or home offices where multiple lighting points need to be managed efficiently. As a DIY enthusiast or a tradesperson, knowing how to install a 2-gang switch expands your capabilities and enhances the safety and functionality of your electrical setup.
Understanding Your 2-Gang Switch
Before diving into the installation process, it's essential to understand the basics of a 2-gang switch. It features two separate switches within one housing, each controlling different circuits or lights. The electrical connections typically involve:
- Live (brown or red) wire
- Neutral (blue) wire
- Earth (green/yellow) wire
- Load wires to the lights or appliances
Ensure you have the correct switch for your needs, considering voltage and current ratings. Browse our philips hue dimmer switch for a variety of options suitable for domestic or professional projects.
Tools and Materials Needed
To carry out this task safely and efficiently, gather these tools:
- Screwdriver (flat and Phillips)
- Wire strippers
- Voltage tester
- Insulated gloves
- Sleeving or wire connectors
- The new 2-gang switch
- Electrical tape
Always turn off the mains supply before starting any electrical work and verify that the circuit is dead using a voltage tester.
Step-by-Step Installation Process
1. Turn Off Power and Verify
to ensure safety, switch off the circuit breaker at your consumer unit. Use a voltage tester to confirm no power is present in the switch circuit.
2. Remove the Old Switch
Unscrew the faceplate and the existing switch, carefully disconnecting the wires. Take note of wiring connections or take a photo for reference.
3. Examine and Prepare Wires
Inspect the wires for damage. Use wire strippers to remove insulation if necessary, ensuring clean and secure connections.
4. Connect Wires to the New Switch
Match the wires to the terminals on your new 2-gang switch. Typically:
- Connect the live wire to the 'L' terminal.
- Connect the load wires to the corresponding output terminals.
- Attach earth wires to the earth terminal.
- Neutral wires usually connect to a terminal terminaled through the back or to a neutral bar.
Ensure all connections are tightly secured.
5. Mount the Switch
Carefully tuck the wires into the back box, then mount the switch using screws. Replace the faceplate.
6. Turn On Power and Test
Restore power at the mains and test each switch to verify proper operation. Check that each controls its respective light or circuit.
Troubleshooting Tips
- Switch not working: Double-check wiring and connections.
- Lights flickering: Ensure connections are tight; consider replacing worn switches.
- No power: Confirm circuit breaker is on and properly functioning.
Safety Precautions
- Always turn off the electricity supply before working.
- Use insulated tools and wear gloves.
- If unsure, consult a qualified electrician.
Final thoughts
Installing a 2-gang switch is straightforward when approached with care and proper safety measures. By understanding the wiring and following these steps, you can upgrade your home’s lighting controls confidently and safely.
Looking to enhance your electrical fittings? Explore our range of philips hue dimmer switch to find the perfect fit for your project.
Stay safe, maintain your skills, and keep your home well-lit and optimally controlled!