How to Properly Install Radiant Barriers in Attics for Maximum Efficiency
How to Properly Install Radiant Barriers in Attics for Maximum Efficiency
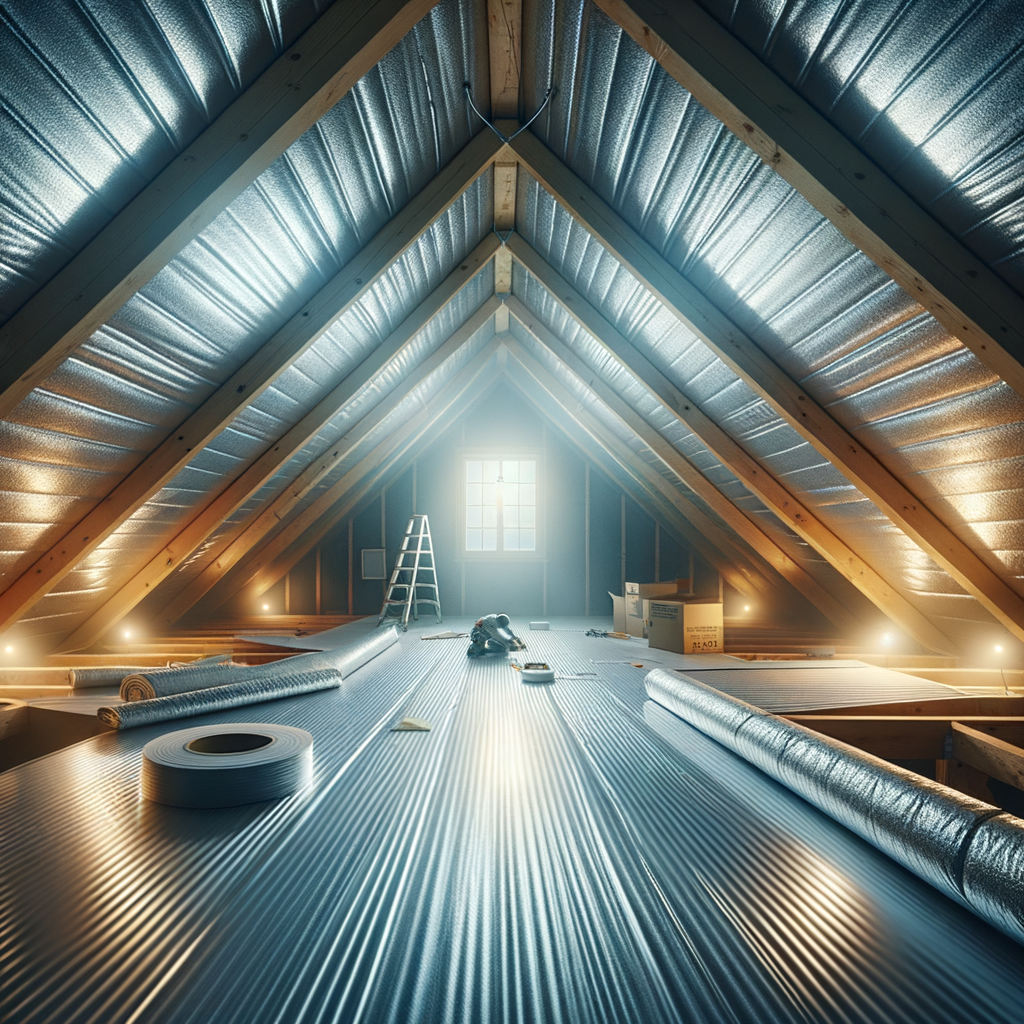
A well-insulated attic can significantly improve your home's energy efficiency, reduce heating and cooling costs, and enhance overall comfort. Radiant barriers are an effective way to reflect heat away during summer and retain warmth during winter, making them a popular choice among DIYers, builders, and homeowners aiming for energy savings. Proper installation is key to ensuring these barriers work as intended. In this comprehensive guide, we'll walk you through the steps to install radiant barriers correctly in your attic.
Understanding Radiant Barriers and Their Benefits
Radiant barriers are reflective materials designed to reduce heat transfer by radiation. Typically made of a shiny, reflective foil surface, these barriers reflect radiant heat away from living spaces. They are most effective when installed correctly in attics, especially in warmer climates or areas with high summer temperatures.
Benefits of Radiant Barriers
- Reduced summer cooling costs
- Retained heat during winter
- Improved indoor comfort
- Enhanced energy efficiency
- Lowered demand on HVAC systems
Preparing for Installation
Before installing a radiant barrier, it’s essential to assess your attic and prepare adequately.
Tools and Materials Needed
- Radiant barrier foil (e.g., Reflective Radiant Barrier Foil)
- Stapler and staples or reflective tape
- Measuring tape
- Ladder or scaffolding
- Safety gear (gloves, safety glasses, mask)
- Utility knife
Attic Inspection
- Check insulation levels: Ensure existing insulation is in good condition.
- Identify vents and openings: Clear any obstructions that could affect airflow.
- Assess roof and attic condition: Look for damages or leaks that require repair.
Installation Steps
1. Choose the Right Type of Radiant Barrier
Radiant barriers come in various forms — rolls, panels, or reflective paints. For DIY attic installation, foil rolls or pre-cut panels are most straightforward.
2. Measure and Cut
Measure your attic's roof surface or ceiling space to determine the amount of radiant barrier material needed. Cut the foil to size using a utility knife, ensuring you have extra material for overlaps and corners.
3. Install the Radiant Barrier
- Positioning: Install the radiant barrier in such a way that it faces the open attic space, with the shiny side facing down toward the living areas.
- Attachment: Staple the foil to the underside of the roof rafters or to the attic ceiling joists. Alternatively, use reflective tape to secure the edges.
- Overlap Edges: Overlap sections by approximately 2-4 inches to prevent gaps.
- Vents and Openings: Do not block attic vents or soffit vents; ensure airflow is maintained.
4. Check for Obstructions
Ensure that the foil is taut and not sagging, which can collect dust and diminish reflectivity. Avoid placing insulation or other materials directly on top of the radiant barrier.
Tips for Effective Installation
- Keep the shiny side facing down: This maximises the reflective properties.
- Ventilation: Maintain proper attic ventilation to optimise radiant barrier performance.
- Avoid penetrating the barrier: Use staples or tape—not nails or screws—as puncturing can reduce reflectivity.
- Consult local codes: Ensure compliance with regional building standards.
Common Mistakes to Avoid
- Installing the barrier with the dull side facing down
- Blocking vents with foil or insulation
- Not overlapping seams
- Installing on a dusty or dirty surface
Final Thoughts
Installing a radiant barrier in your attic is a practical way for experienced DIYers and builders to improve energy efficiency and comfort. When done correctly, it provides a long-term energy saving solution with minimal ongoing maintenance.
At Cynnal, we offer a range of reflective insulation products suitable for DIY installation. For best results, combine radiant barriers with proper attic insulation and ventilation.
Ready to upgrade your home’s insulation? Explore our selection of reflective insulation products and get started today!
By properly installing your radiant barrier, you’re taking a confident step towards a more energy-efficient, comfortable home. Remember, meticulous preparation and correct placement are key. If in doubt, consult a professional or reach out to our expert team for advice. Happy maintaining!