How to Safely Replace Old Switches: A Practical Guide for DIY Enthusiasts
How to Safely Replace Old Switches: A Practical Guide for DIY Enthusiasts
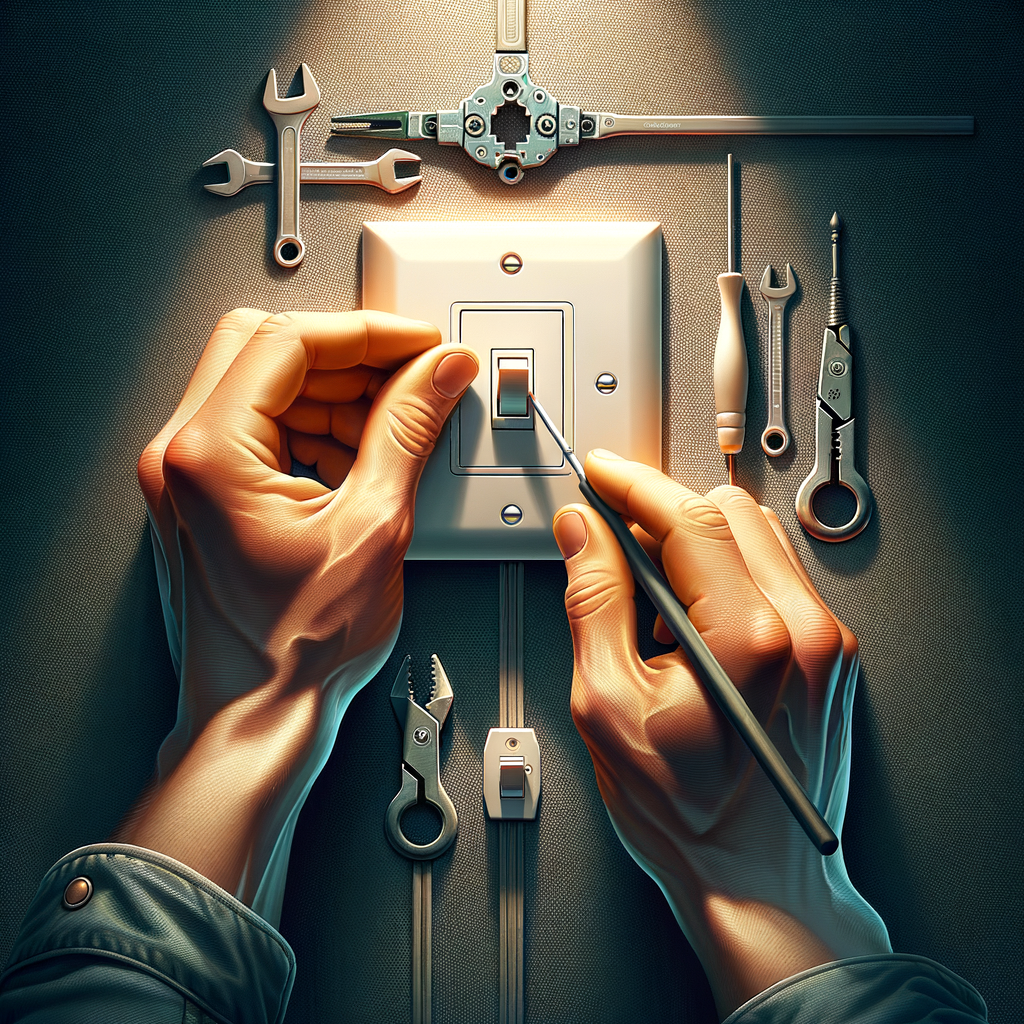
Replacing old or faulty light switches is a common task for DIYers, tradespeople, and home maintenance enthusiasts. Whether you're upgrading to modern designs or restoring a vintage property, ensuring safety and compliance is essential. In this guide, you’ll learn how to approach switch replacement confidently, with expert tips and step-by-step instructions.
Why Replace Old Switches?
Old switches can become unreliable, fail to meet current safety standards, or simply look out of style. Upgrading to new, code-compliant switches improves both safety and functionality. Plus, modern switches often feature better durability, ergonomic design, and enhanced electrical features.
Essential Safety Precautions
Before starting any electrical work, safety should be your top priority. Always follow these precautions:
- Turn off the mains power at the consumer unit (fuse box). Ensure the correct circuit is isolated.
- Use a suitable voltage tester to confirm there’s no electrical current before handling wires.
- Wear insulated gloves and use insulated tools to prevent accidental shocks.
- Avoid working in damp conditions or when unwell.
- Familiarise yourself with local wiring regulations and standards.
Tools and Materials Needed
To replace your switch safely and efficiently, gather the following tools and materials:
- New switch (check compatibility with existing wiring)
- Screwdriver (flat-head and Phillips)
- Voltage tester
- Wire strippers
- Electrical insulation tape
- Circuit tester or continuity tester
- User manual for the new switch
Step-by-Step Guide to Replacing a Switch
Step 1: Turn Off Power
Ensure the power supply to the switch circuit is turned off from the consumer unit. Never work on live circuits.
Step 2: Confirm Power Is Off
Use a voltage tester to verify the absence of electrical current at the switch. Test across the terminal screws and wiring.
Step 3: Remove the Switch Cover
Unscrew the faceplate using a screwdriver. Keep screws in a safe place.
Step 4: Disconnect the Old Switch
Identify the wiring: typically, switches have a live (brown or red), neutral (blue or black), and earth (green/yellow). Remember wiring order or photograph it for reference.
- Loosen terminal screws and disconnect wires.
- Carefully remove the switch.
Step 5: Prepare the New Switch
Check your new switch’s specifications. If needed, strip wire ends to suitable length (around 10mm) with wire strippers.
Step 6: Connect Wiring to the New Switch
Attach wires to the corresponding terminals:
- Live (L) terminal
- Load or switched live
- Earth connection if applicable
- Follow manufacturer instructions and local wiring standards.
Step 7: Secure the Switch
Fix the switch into the wall box using screws. Ensure the wiring is not strained or pinched.
Step 8: Replace the Cover Plate
Screw the faceplate back on securely.
Step 9: Restore Power and Test
Turn the mains power back on. Test the switch functionality and ensure it operates as intended.
Troubleshooting Common Issues
- Switch doesn’t turn on/off: Check wire connections and wiring configuration.
- Fuses blow: Possible wiring faults or overloads; consider consulting a qualified electrician.
- Switch feels warm: This may indicate loose wiring or underlying electrical issues.
Conclusion
Replacing an old or faulty switch is straightforward when you follow the proper safety procedures and steps. By doing so, you enhance your home’s safety and functionality while gaining confidence in your electrical skills. Remember, if unsure or uncomfortable, always consult a qualified electrician.
For reliable components and accessories, explore our range of philips. Keep your home safe, connected, and up-to-date.
Take your DIY skills further — explore all electrical & wiring products at Cynnal and keep your home maintained to the highest standards.